
Step-by-Step DIY Home Improvement Projects to Transform Your Space
Here, we will take you through "step-by-step DIY ideas" that are easy, economical, and effective. Whether you need to update a room or give your home an overall makeover, these tips will guide you.
HOME RENOVATION
8/31/20253 min read
There's something so fulfilling about enhancing your house with your own two hands. Not only do DIY home remodels save you money, but they also provide you with an opportunity to make personal touches and increase the worth of your space. The best news? You don't have to be a professional contractor in order to make an impact—small modifications can yield huge results.
1. Update Your Walls with Paint or Wallpaper
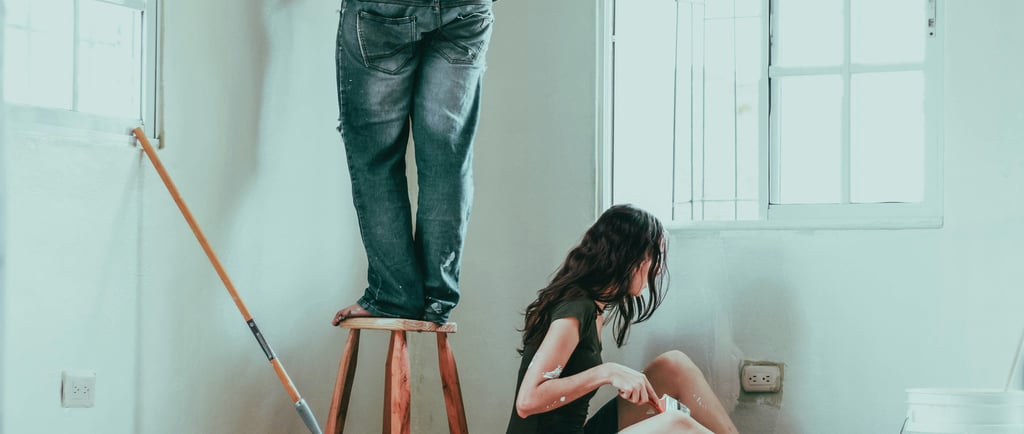
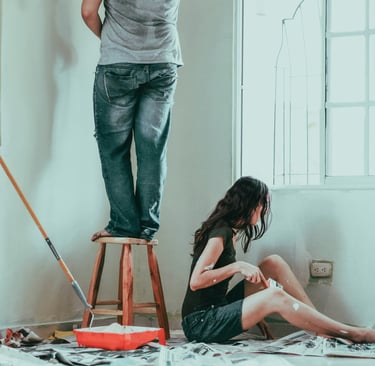
A new paint job is among the most inexpensive DIY ventures you can take on. It immediately lightens a room and can totally transform the atmosphere in a space.
Steps:
1. Pick your color scheme – lighter colors make rooms appear larger, while strong colors create personality.
2. Prep the surface – clean the walls and fill in any holes or cracks.
3. Mask and guard – guard trims with painter's tape, and lay down a drop cloth on floors.
4. Primer work – with dark colors or stained walls, primer helps even out coverage.
5. Layering paint – roller for surfaces, and brush for edges. Two coats will suffice.
Pro Tip: If painting is too elementary, take a try at peel-and-stick wallpaper—it's renter-friendly, budget-friendly, and comes in infinite designs.
2. Update Your Lighting Fixtures
Lighting can totally change the ambiance of your house. Changing old fixtures with new ones is simpler than most imagine.
Steps:
1. Shut down power – always turn off electricity at the breaker.
2. Remove previous fixture – gently unscrew and disconnect wires.
3. Install new fixture – align wires (black to black, white to white, green to ground).
4. Test and secure – after installation of the fixture, restore power and test the light.
Pro Tip: Try smart bulbs or dimmer switches for energy-efficient, flexible lighting.
3. Install Floating Shelves Floating shelves are functional yet fashionable, providing additional storage without using floor space.
Steps:
1. Measure your wall – choose where the shelves will sit.
2. Locate studs – use a stud finder to have stability.
3. Attach brackets – fix them with screws into the studs.
4. Add shelf boards – put your selected wood planks on top and fix them.
5. Decorate it – add books, plants, or ornaments.
Tip: Stain or paint the wood prior to installation to suit your room's theme.
4. Make a Statement Wall with Wood Panels
If you prefer something more dramatic than paint, consider a wood panel or shiplap wall. It provides character and coziness.
Steps:
1. Design your plan – vertical, horizontal, or geometric designs.
2. Cut panels – measure and cut wood planks to size for your wall.
3. Secure panels – use nails or adhesive, beginning at the bottom.
4. Seal gaps – caulk edges and sand ridges.
5. Paint or stain – top with a finish that matches your style.
5. Upgrade Cabinet Hardware
Among the fastest DIY makeovers is the replacement of old knobs and handles on kitchen and bathroom cabinets.
Steps:
1. Remove old hardware – remove knobs or pulls by unscrewing them.
2. Measure hole spacing – see whether new handles are compatible with current holes.
3. Install new hardware – screw in your new designs.
4. Clean and polish – clean cabinets to give them a new, clean appearance.
Pro Tip: Matte black, gold brush, and bronze finishes are on trend in 2025.
6. Install a Backsplash
Installing a backsplash can make your kitchen or bathroom look immediately better. With peel-and-stick tiles, the job is DIY-friendly.
Steps:
1. Prep the wall surface – get it grease-free and smooth.
2. Measure and cut tiles – dry-fit prior to sticking.
3. Install tiles – remove backing and press down tightly.
4. Seal edges – use caulk for a clean finish.
Pro Tip: Use hexagon, subway, or mosaic tiles for a contemporary look.
7. Install Crown Molding
Crown molding enhances the look and can make ceilings seem higher.
Steps:
1. Measure your walls – cut molding at 45° angles with a miter saw.
2. Apply adhesive – apply construction adhesive to the back.
3. Nail molding in place – fasten with finishing nails.
4. Caulk and paint – caulk seams and touch up with paint.
Pro Tip: If wood cutting scares you, consider foam molding kits—light and easy for beginners.
8. Create an Outdoor Living Space
DIY doesn't have to remain indoors—your backyard or balcony can be improved, as well.
Steps:
1. Clean and prep – sweep, power wash, or clear space.
2. Install seating – create a pallet sofa or arrange budget-friendly outdoor furniture.
3. Add lighting – employ string lights, solar lights, or lanterns.
4. Use plants for decoration – place potted plants or vertical garden walls.
Pro Tip: Utilize weather-resistant cushions to ensure they stay fresh throughout the year.
Why DIY Projects Are Worth It
✅ Cost Savings: Saving money on labor expenses by doing it yourself makes a huge difference.
✅ Personalization: You can customize your style, colors, and layout.
✅ Skill-Building: You learn something new with each project.
✅ Increased Home Value: Even little upgrades contribute resale value.
Final Thoughts
DIY home improvement doesn’t have to be overwhelming. Start small—like painting a room or swapping cabinet handles—and build confidence with each project. Over time, you’ll not only enhance your home but also gain valuable skills and a sense of pride in your work.
Whether you're getting ready to sell your home, renovate your living area, or just experiment with something artistic, these step-by-step DIY projects will assist you in getting a home that looks more beautiful, functional, and uniquely yours.